In our previous blog, we went over the basic steps of starting your clothing line. We talked about what you need to get started and how to choose the right products to sell. In this one, we’ll delve a little deeper into the design process and talk about how to create patterns and prototypes for your garments.
What is a Pattern and Why Do You Need One?
A pattern is a template that you can use to create a garment. You can buy patterns from commercial pattern companies, or they can be made from scratch. If you’re starting out, purchasing a few basic patterns and then altering them to suit your needs is probably a good idea. You can also find free patterns online.
On the other hand, there are several reasons why you might want to create your patterns from scratch:
- Customization: When you create your patterns, you have complete control over the fit, style, and look of the garments. You can also add your personal touches, like unique details or embellishments.
- Cost: Creating patterns can save you money in the long run, especially if you plan to sell your garments. Commercial designs can be expensive, and if you’re only making a few items, buying them might not be cost-effective.
- Fun: Making your patterns is a great way to get creative and have fun with fashion. It’s also an excellent way to learn about garment construction and how clothing is put together.
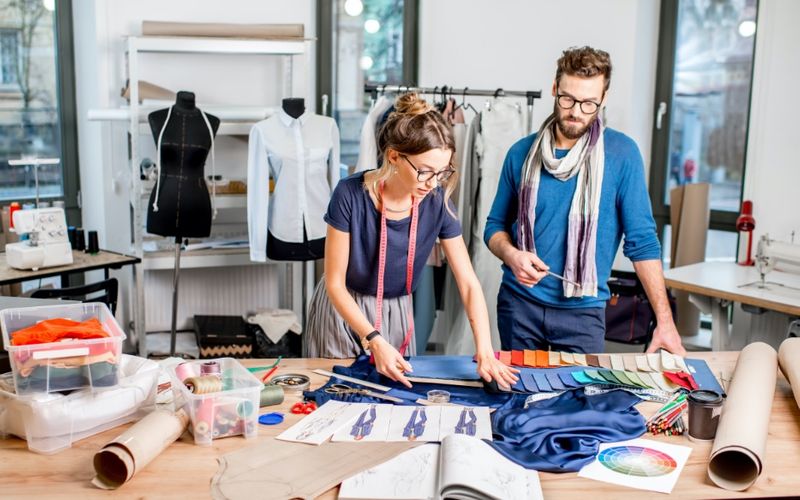
How to Make a Basic Pattern
There are two main ways to create patterns: by hand or using a computer. If you’re starting out, it’s probably easiest to do it by hand. You can always convert your patterns to digital files later on.
To make a basic pattern by hand, you will need the following supplies:
- Paper: Pattern paper is a particular type of tissue paper used to make patterns. It’s cheap and easy to find at most craft stores.
- Pencils and Tracing Wheels: Regular pencils are fine, and if you can get a set of tracing wheels and tracing paper too. Tracing wheels are used to transfer markings from one piece of paper to another, and tracing paper is a translucent sheet of paper used for tracing patterns.
- Scissors: You’ll need a good pair of scissors for cutting out your pattern pieces.
- Measuring tape: A flexible measuring tape is essential for taking body measurements. You can also use a ruler or a yardstick, but a measuring tape is much more accurate.
- Fabric: You’ll need some fabric to make your pattern pieces. Using lightweight fabric like muslin, calico, or cotton lawn is best.
Once you have all of your supplies, you’re ready to start making your pattern. The first step is to take your measurements. You’ll need to measure the following:
- Bust/Chest: Measure around the fullest part of your bust/chest
- Waist: Measure around the narrowest part of your waist
- Hips: Measure around the fullest part of your hips
- Back width: Measure from one shoulder blade to the other
- Front width: Measure from shoulder to shoulder
- Shoulder-to-waist: Measure from the base of your neck to your natural waistline
- Waist-to-hip: Measure from your natural waistline to the fullest part of your hipInseam: Measure from your crotch to your ankle.
Having these measurements will allow you to get started with making a prototype.
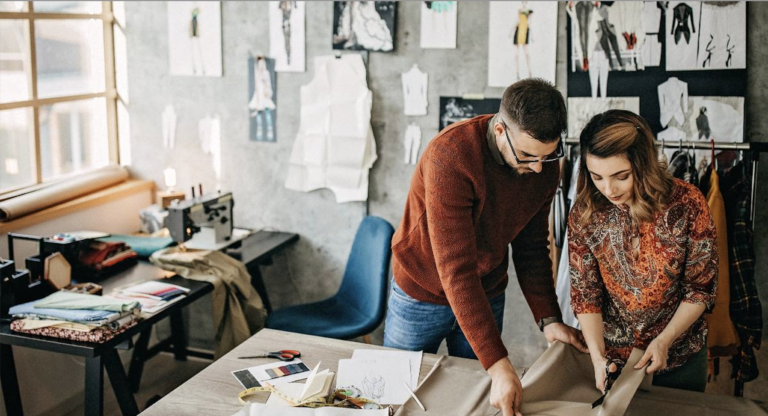
How to Make a Prototype
Now that you have your pattern pieces, it’s time to make a prototype of your garment. First, start by cutting out your pattern pieces. Then, use a tracing wheel and tracing paper to transfer the markings onto your fabric.
Next, cut out your fabric pieces. Once you have all of your pieces, it’s time to start sewing! If you’re new to sewing, there are plenty of resources available to help you get started.
Once you’ve finished sewing your garment, it’s time to try it on. Make sure to take note of any areas that need to be altered. Then, make the necessary changes to your pattern pieces and cut out a new prototype.
Keep repeating this process until you’re happy with the fit of your garment. Once you are, you’re ready to start making your final garment!
Next Steps
Now that you know how to make a basic pattern, you’re ready to start creating your own designs. If you want to learn more about pattern making, there are plenty of resources available online and in libraries.
It’s good to know that once you have your final version, the right company will help you with both the ordering and manufacturing process of your product. You can focus on what you’re good at, and let them take care of the rest.